
CHIPIN’ WOOD
Inside My Woodturning Workshop
The lathe, tools, and equipment behind my turned pieces.
Back to Workshop
By Rogene Sears | September 12, 2026
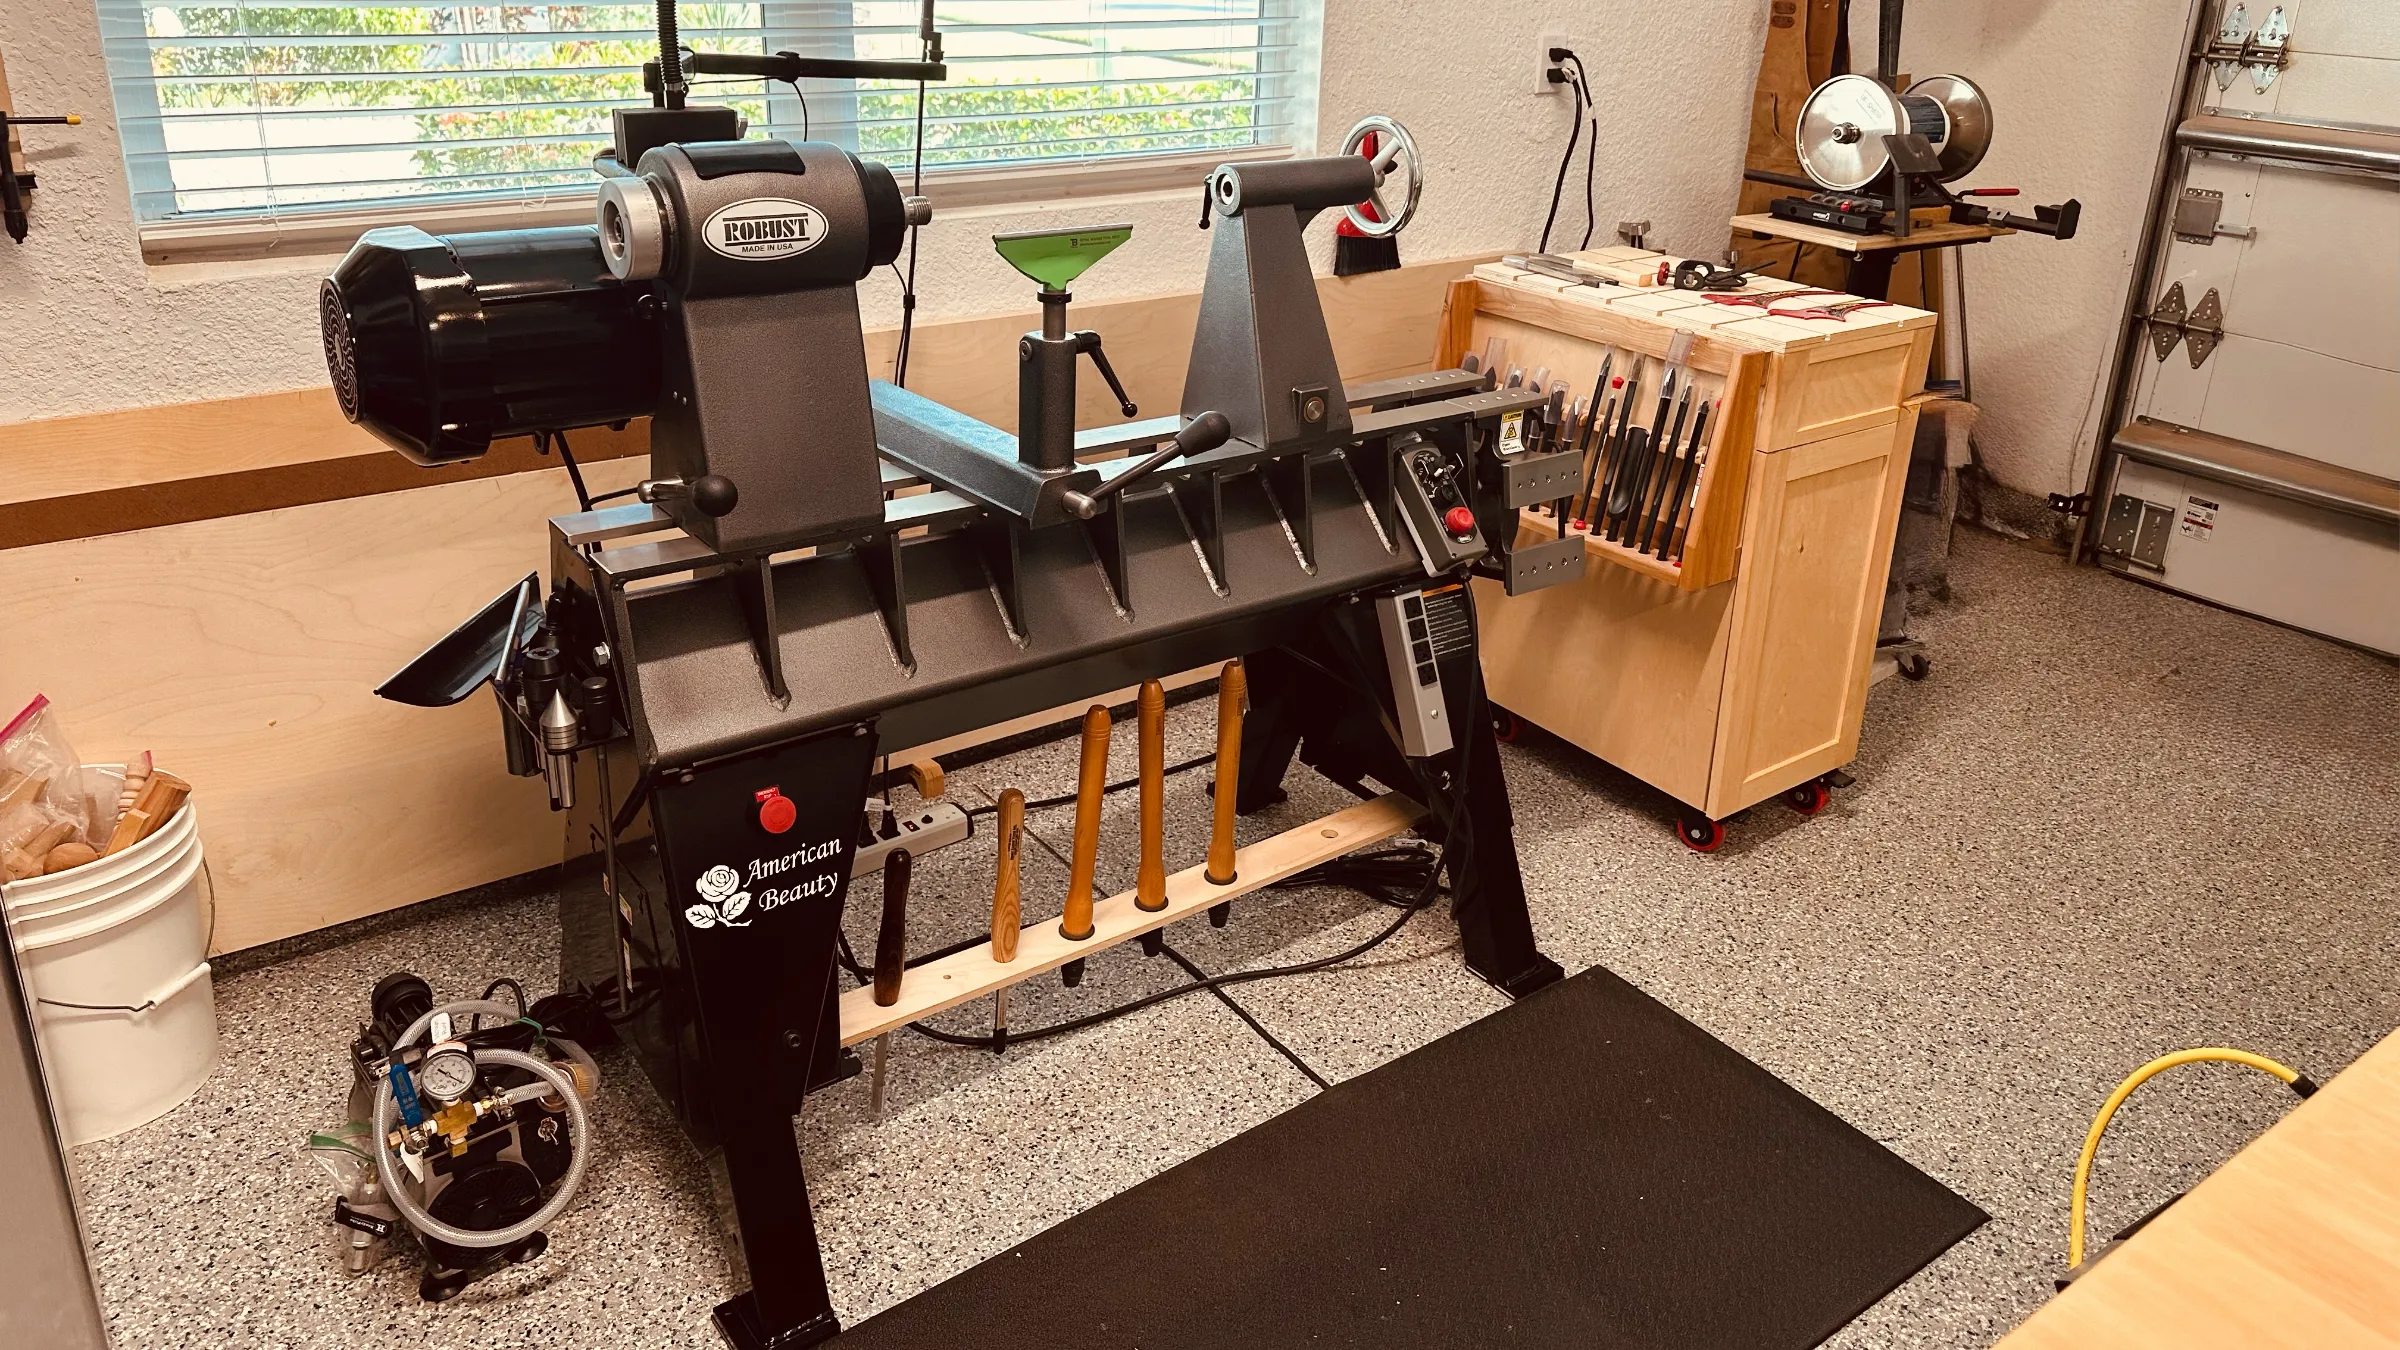
Every workshop develops around the person using it. Mine reflects the pieces I make, the instruction I’ve received, and the equipment I’ve come to enjoy working with.
From turning a small ring to shaping a bowl from a large log, each project calls for different decisions. These are the tools and systems I use, along with some of the lessons that guide my work.
The Lathe at the Center of My Shop
I chose the American Beauty because of its reputation: built in America by a small team of people who understand woodturning. Its thoughtful ergonomics and reputation for reliability mattered to me, and I’ve come to appreciate how comfortably I can work at it for hours.
My standard-bed model has a 3 HP motor and a tilt-away tailstock with gas-shock assistance. The tilt-away is one of my favorite features. It lets me move the tailstock out of the way without lifting its full weight—a difference I really appreciate during a long turning session.
I also value its versatility. I can go from turning something as small as a ring to working with a large log. That flexibility gives me room to explore different forms as my work develops.
Traditional Tools and Learning What They Can Do
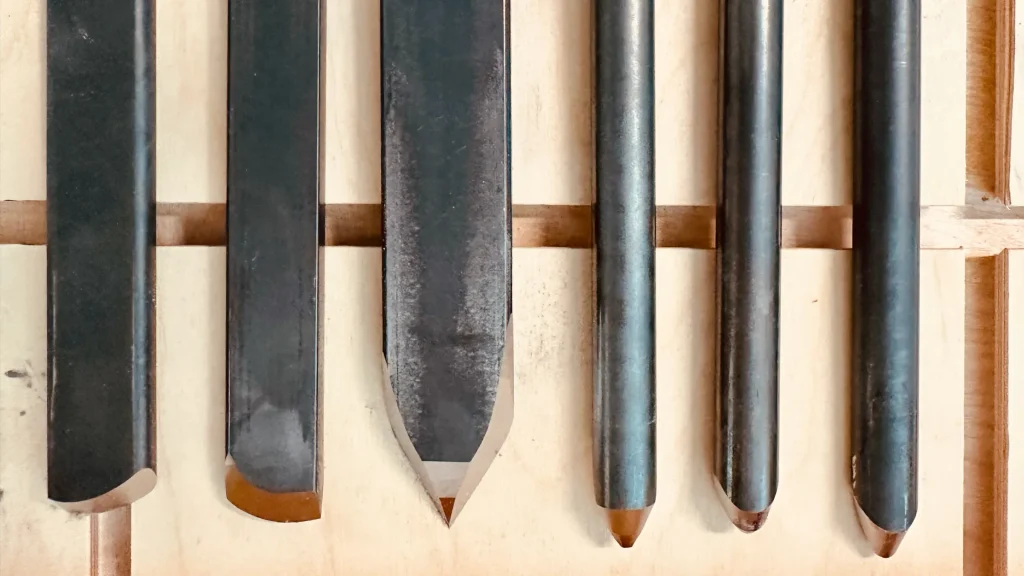
All of my lathe tools are traditional turning tools, primarily made by Robust Tools. I use 16-inch handles with interchangeable collets that accommodate different tools.
I started using Robust tools through my training with Matt Monaco. He sold them with his custom grinds, giving me the opportunity to learn with tools he had prepared. I’ve been very pleased with them.
One of the most valuable lessons I’ve learned from Matt is that you don’t need 50 specialized tools. You need to understand the capabilities of the tools you have, then choose the one that best fits the cut you want to make. That approach has shaped how I work at the lathe.
Robust describes its traditional tools as high-speed steel treated with a nitriding process to improve edge retention. That treatment is part of the metal’s surface rather than a coating. For me, though, the heart of this setup is learning how each tool behaves and developing the skill to use it well.
Keeping My Tools Sharp
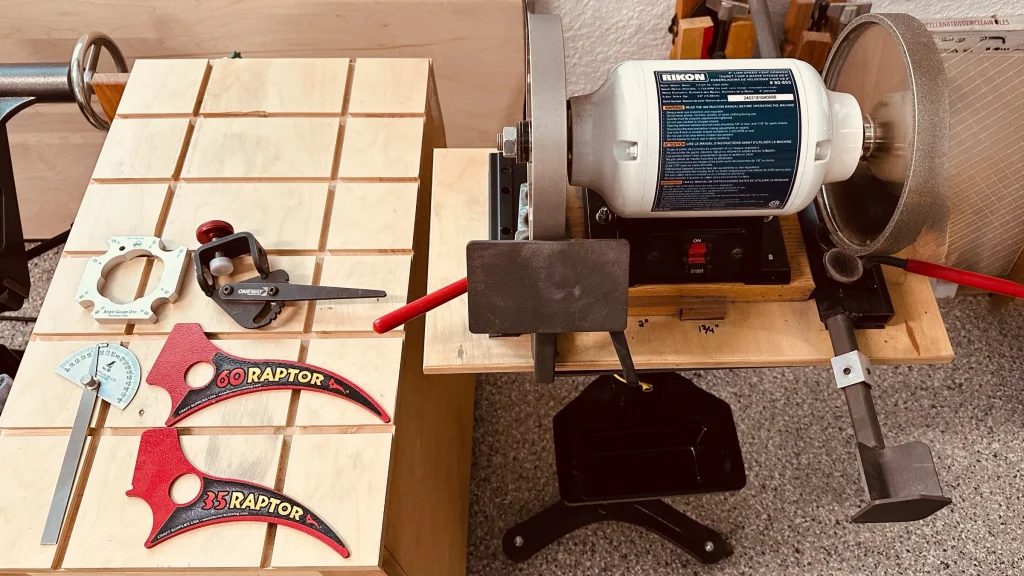
I sharpen my turning tools on a Rikon 8-inch slow-speed bench grinder fitted with an 80-grit CBN wheel and a 600-grit CBN wheel. My sharpening routine combines freehand work and jigs, depending on the tool and the grind I want to maintain.
For freehand sharpening, I use SB Tools angle gauges to set the platform angle. They give me a consistent starting point before I bring the tool to the wheel.
I also use the Wolverine Sharpening System, with its adjustable platform and V-arm support. Raptor setup tools help me return the support to a repeatable position for the grind I’m using. Having that setup established lets me spend more time sharpening and less time adjusting.
Matt sharpens entirely freehand and does not use CBN wheels. While I’ve learned a great deal from him, my own routine includes both freehand sharpening and the support of jigs.
Holding the Wood on the Lathe
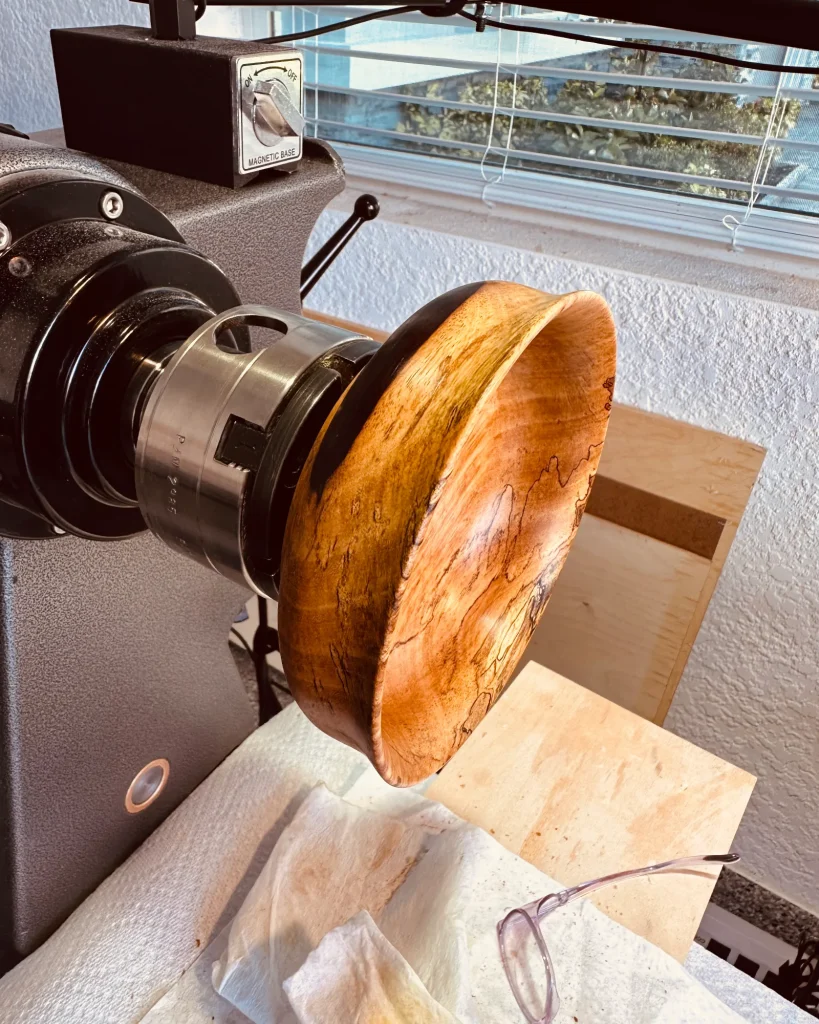
For initial mounting, I primarily use a Precision Machine 3-in-1 Screw Chuck rather than a woodworm screw fitted into my scroll chuck. Its interchangeable screws and reversible collar give me options for mounting different blanks.
My main scroll chuck is a Vicmarc VM120, which I use with 4-inch, 5-inch, and pen blank drilling jaws. I also have an Oneway Talon chuck for smaller turned items, but I prefer the Vicmarc and reach for it most often. For turning between centers, I use Robust live and drive centers.
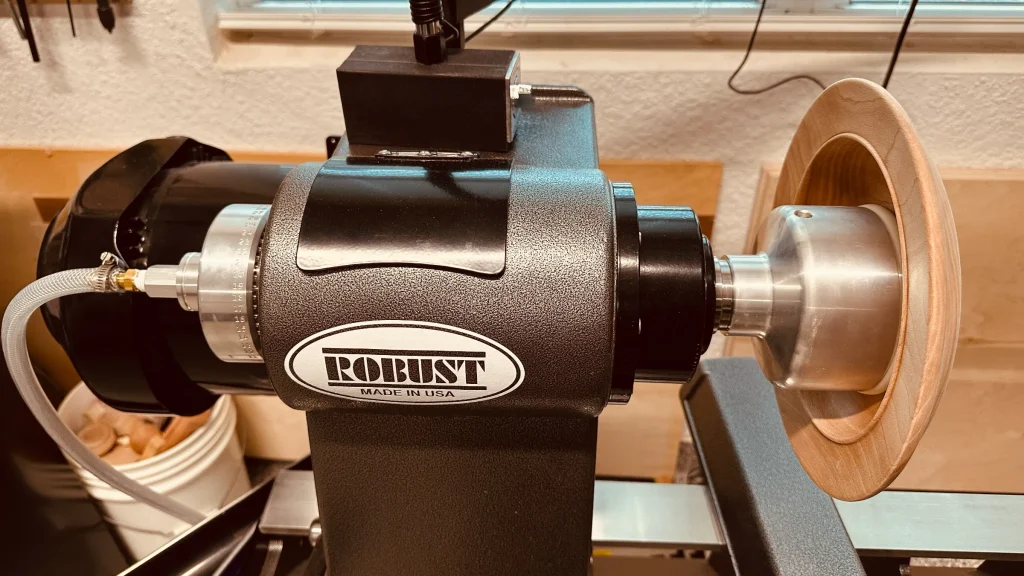
To finish bottoms and remove tenons, I primarily use my Robust vacuum system. It includes a pump and three aluminum vacuum chucks in 3¼-inch, 4½-inch, and 6-inch sizes. This gives me access to the bottom of a piece to complete its shape and finish.
When the work calls for a firmer support, I use a jam chuck where appropriate. The way I hold a piece changes throughout the turning process, depending on its shape and the work that remains.
Supporting the Tool
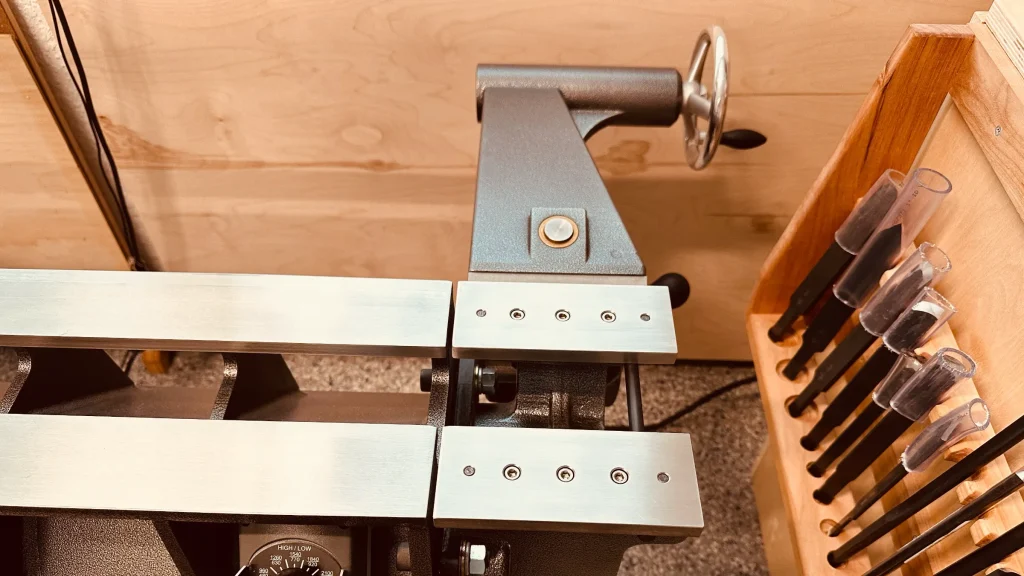
My tool rests include a 12-inch Robust rest and 7-inch and 10-inch asymmetric rests from Trent Bosch Tools. The asymmetric design gives me additional reach without increasing the overall length of the rest, while the low profile provides more room to position my tool.
From Clean Cuts to the Final Finish
I aim for a clean surface straight from the tool. Matt’s courses have reinforced how much the right grind and cutting technique can reduce the sanding needed afterward. That care starts while I’m still shaping the piece.
For functional pieces such as bowls and platters, I use an oil-assisted wet-sanding method I learned from Matt. I work through 240, 320, and 400 grit, using Walrus Oil Cutting Board Oil at each stage. The oil lubricates the sanding action and helps capture the fine dust, while bringing out the wood’s natural color and grain.
After sanding, I use Yorkshire Grit Original abrasive paste to further refine the surface. I thoroughly remove the residue before applying Walrus Oil Wood Wax as the final step.
My goal is a surface that feels as good in your hands as it looks—a fitting finish for a piece made to be used.
Dust Collection and Personal Protection
I manage dust in several ways, starting where it is produced. My Rockler 1,250 CFM wall-mounted dust collector is configured as a two-stage system and serves my table saw, band saw, planer, jointer, and router table. I also use it for larger cleanup tasks. For sanding tools, I connect a Festool CT 26 HEPA dust extractor to capture dust at the source.
Cleaning the Air in the Shop
Even with collection at the tool, some fine dust escapes into the room. That is where my Jet 1,000 CFM air filtration system comes in. It circulates workshop air through filters, helping capture airborne dust that the other systems miss. The remote lets me control it conveniently from within the shop.
Collecting dust at the machine and filtering the room air serve different purposes. The Jet adds another layer of dust control; it does not replace collection at the source or the respiratory protection I wear.
Protecting My Eyes, Face, and Breathing
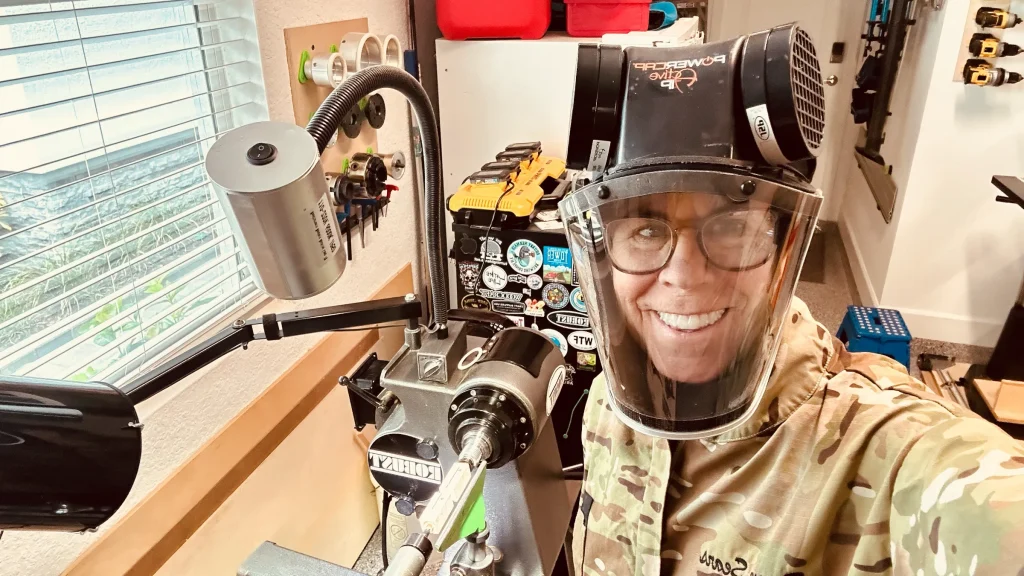
Whenever I turn, I wear ANSI Z87.1 goggles underneath my Powercap Active IP. The goggles provide eye protection close to my face. Flying chips and debris can cause serious eye injuries, and OSHA’s eye and face protection guidanceexplains that a face shield should be worn over primary eye protection such as goggles or safety glasses.
The Powercap Active IP combines a battery-powered filtered-air system with an impact-protective face shield. Its fan draws air through particulate filters and delivers it around my face, helping reduce the dust I breathe. The visor provides additional protection against flying particles. It is designed for dust and particulates, rather than protection from finishing fumes or vapors.
These systems work together: collecting dust where I can, filtering the workshop air, and wearing protection at the lathe. They are part of my turning routine every time I begin a piece.
A Workshop Built Around the Work
Good equipment matters to me, but learning to use it well matters just as much. The lessons I’ve learned from Matt continue to influence how I approach a cut, sharpen a tool, and prepare a piece for its finish.
Each finished turning reflects those decisions. I hope this look inside my workshop helps you see a little more of the work behind the wood.
Have a question about something in my shop? Leave a comment below.
When I make a bowl or platter, I want the grain and shape to catch your attention. I want it to be a piece you enjoy displaying—and one you feel just as comfortable bringing to the table and using.